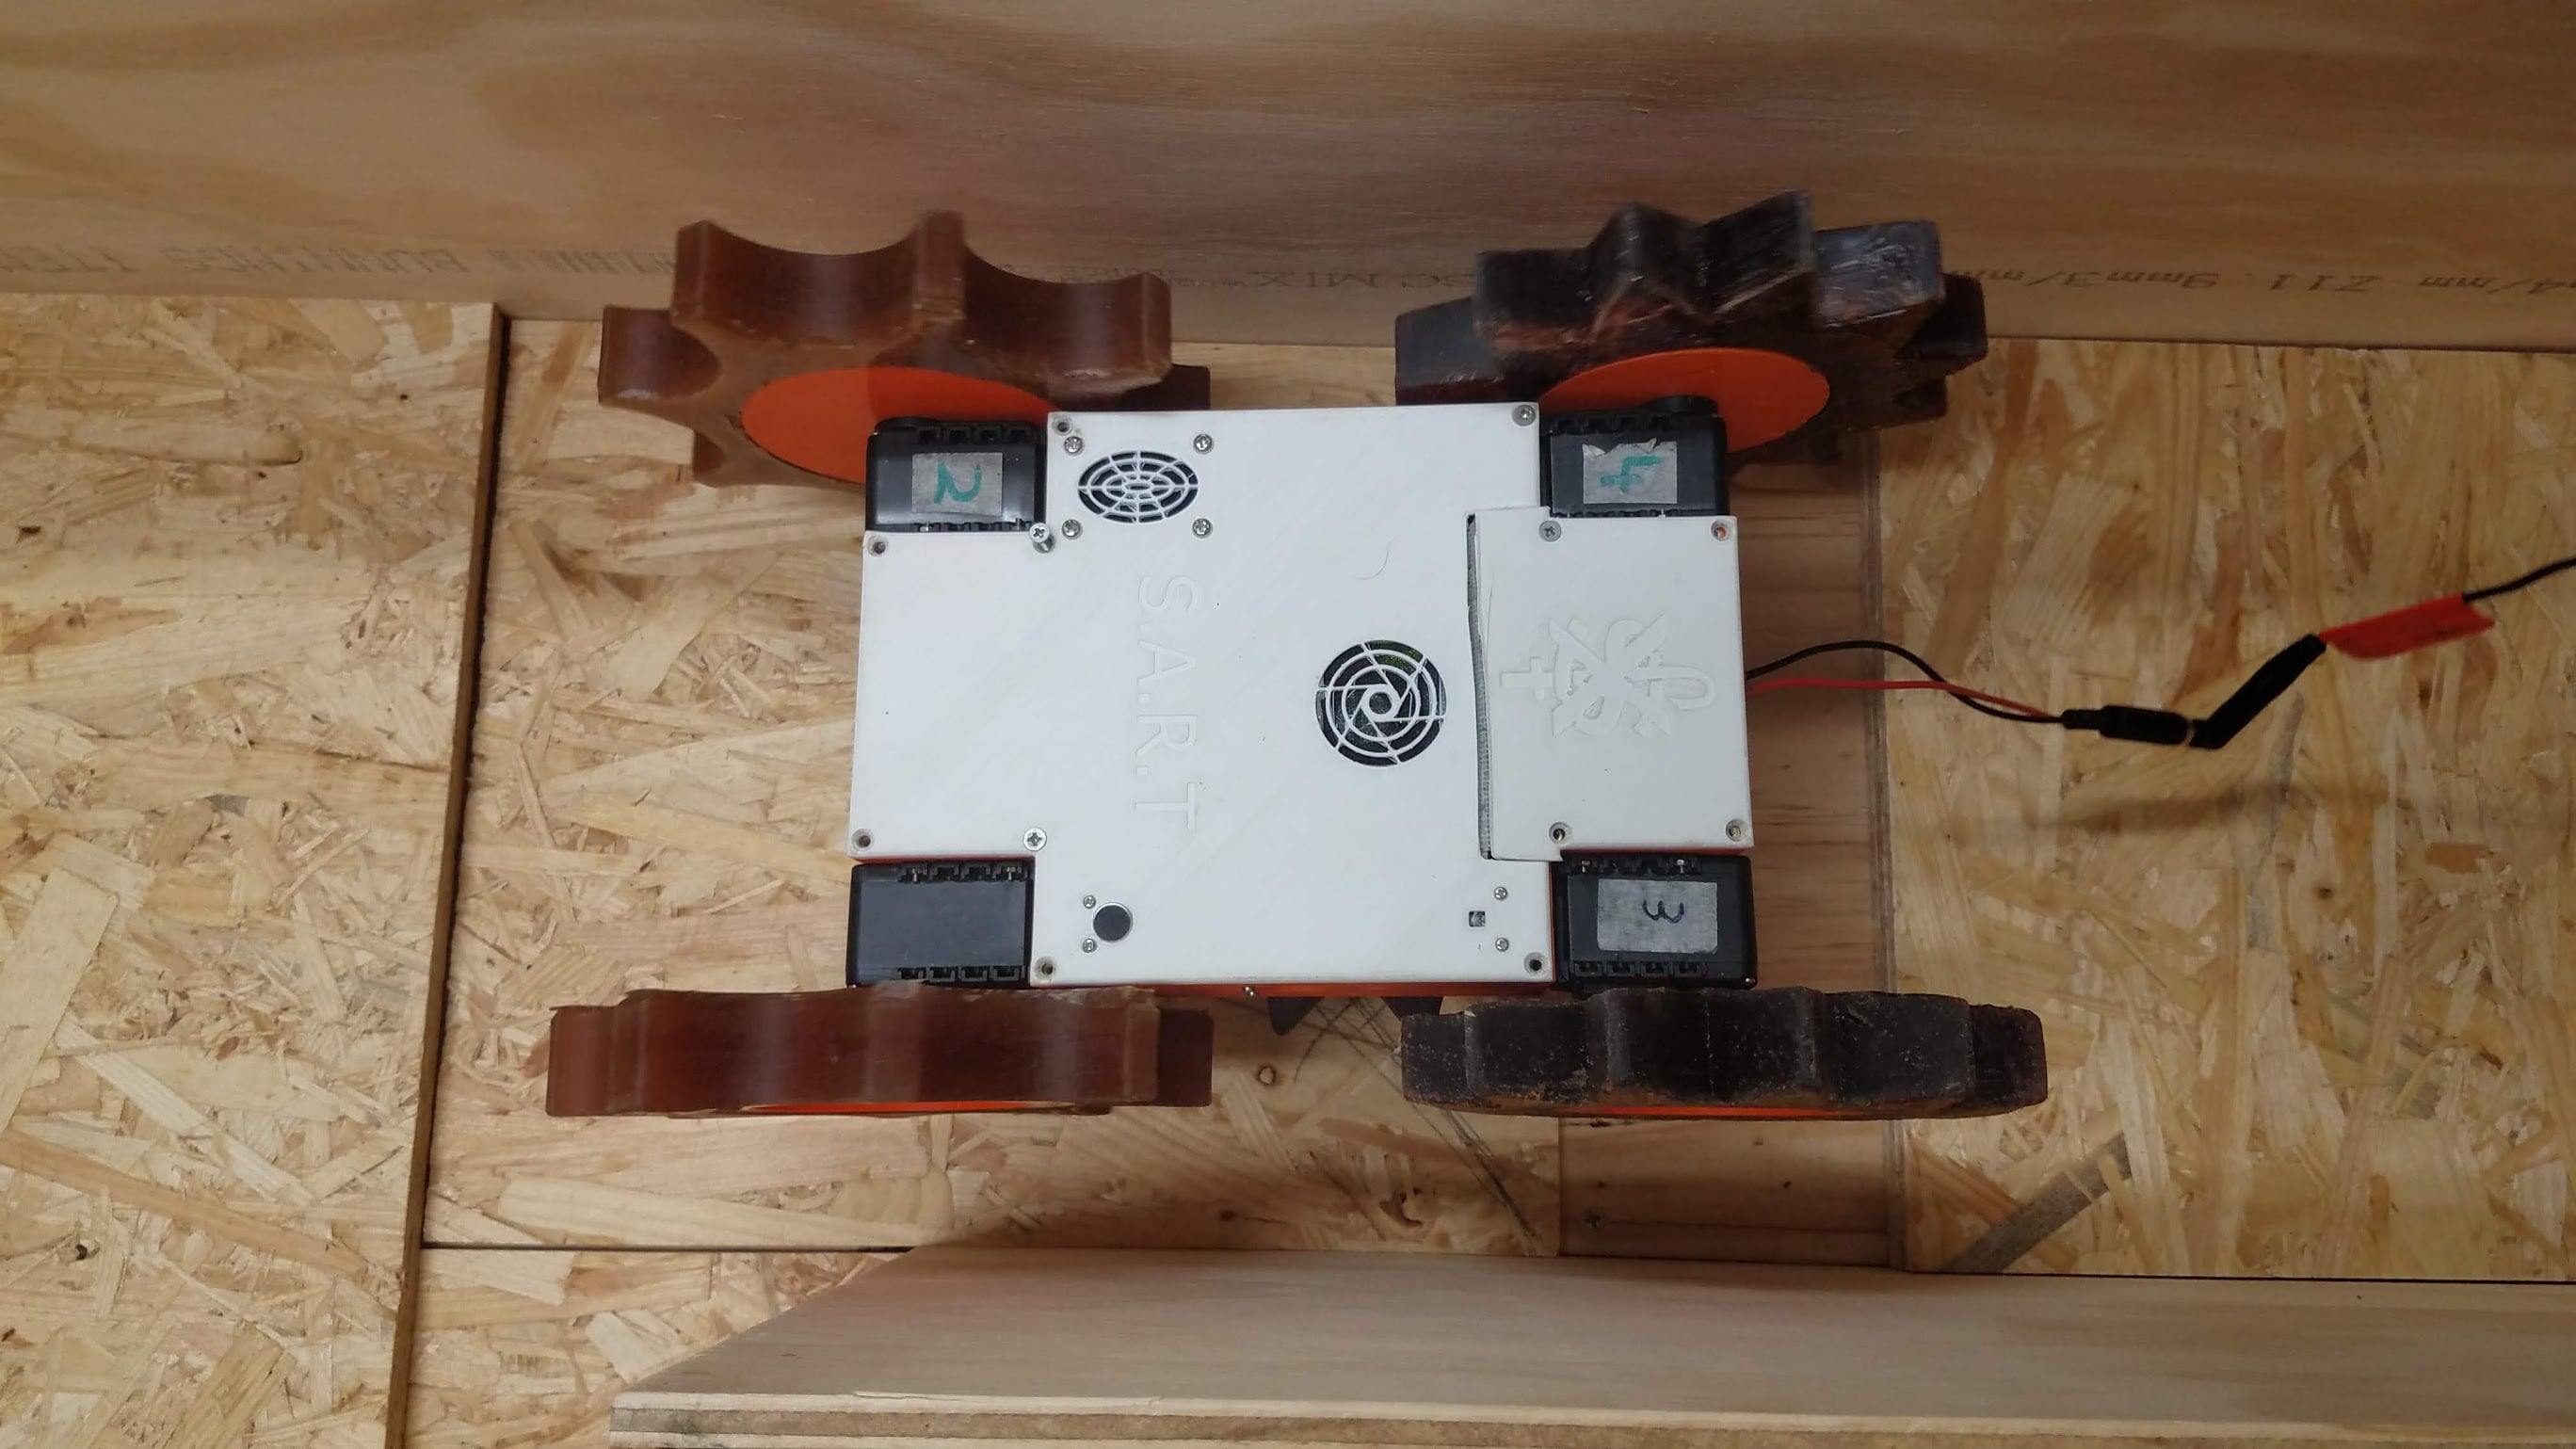
On our way to autonomy, one of the things we need to have is the ability for the robot to centre itself left and right in the course as it moves forward.
First, I’ll explain what a PID controller is and how we will use it on our robot.
PID stands for Proportional-Integral-Derivative controller. It’s a control loop feedback mechanism, which essentially means it intelligently uses previous data to predict how adjustments will influence future values, in order to keep the current value at a set target value.
In our case, we want to keep the robot centred left and right as it traverses the maze.
A common example of a PID controller would be a temperature control system. Say you wanted to keep something at 40 degrees by alternating between switching on a heater or cooler. The most basic way to implement this would be to turn on the heater when it drops below 40 degrees and turn on the cooler when it goes above. However, the heater could easily overshoot and heat the system to over 40 degrees. Likewise, if the temperature is well over 40 degrees, the cooler might not be sufficient. Simply having a binary on / off system won’t be effective. This is where the proportional part of PID comes in. By looking at how far away from the set-point the current value is, we can scale the amount of heating or cooling we are applying. If it’s 60 degrees, we want to apply a lot more cooling than if it was 45 degrees.

The formula for a PID controller looks more complicated than it is to implement. We can break it down into three values all added together.
We have three constants which we call gain constants, these are simply how much we want that specific aspect (P, I, and D) to influence the final value. These are represented by the letter K. So we have K_p, K_i and K_d.
Each of these are multiplied by the error, the integral and the derivative, respectively.
We implement this in a continuous loop. The first thing we’ll do in our while loop is get the current time and compare it to the last time. This will be used in the integral and derivative parts.
1 2 | current_time = time.time() delta_time = current_time - last_time |
Now we need the error, which is just the difference between the current value and the set-point:
1 | error = set_point - current_value |
Our robot has distance sensors on each side. We only need the left and right ones for this case. Our set-point is going to be when we are exactly centered. In which case, the difference between the left and right values is zero. So our current value is also going to be the difference between left and right.
1 | error = left - right |
Error is sometimes represented as P or in the formula above e(t). We also need to know the change in error since the last loop:
1 | delta_error = error - last_error |
That’s all we need for the proportional part at the moment. Now let’s move to the integral part. The integral is just the sum of all previous errors. The integral is essentially the total area of a graph if we graphed the error. Because we have it all in a loop, it does the same thing as calculating the integral of an equation. Under the hood, this is what a calculator basically does to calculate integrals, albeit at much smaller intervals for accuracy. Our change in time is essentially the width of each block (green block in the diagram below). This should be the same but there’s a bit of uncertainty depending on system load and the time it takes to receive distance data from the Arduino.
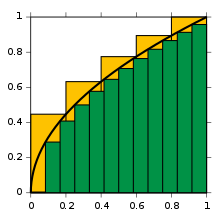
KSmrq, CC-BY-SA 3.0
1 | integral += error * delta_time |
Finally we want to find the derivative. Which is the rate of change. Which is the change in error since the last error, over the change in time.
1 | derivative = delta_error / delta_time |
Now that we have our three values, we need to multiply these by the respective gain constants:
1 | pid = int((K_p * error) + (K_i * integral) + (K_d * derivative)) |
Then we can apply this to the servos:
1 | servo_party.move(speed - pid, speed + pid) |
And finally make sure we update the error and time:
1 2 | last_error = error last_time = current_time |
In the end, our final logic will look like this:
1 2 3 4 5 6 7 8 9 10 11 12 13 14 15 16 17 18 19 20 21 22 23 24 25 26 27 28 29 30 31 32 33 34 35 36 37 38 39 40 41 42 43 44 45 46 47 48 49 50 51 52 | # PID constants K_p = 2 K_i = 0 K_d = 0 # Servo base speed speed = 400 def main(): # Sum of all errors integral = 0 # Error from previous loop last_error = 0 # Current time current_time = time.time() # Last time will be the time that the last loop was iterated last_time = current_time while True: # Get distance data here # Get current time current_time = time.time() # Change in time since last loop delta_time = current_time - last_time # Our setpoint (SP) is 0, as we want the difference between the two sides to be 0. This is our target value. # Therefore, because our SP is 0, our current measured value is the same as the error which is difference between left and right error = left - right # Work out the change in error since the last loop delta_error = error - last_error # Our integral is the sum of all previous errors taking into account time integral += error * delta_time # Our derivative is the difference between this error and the last derivative = 0 if (delta_time > 0): # Generally we try to avoid dividing by zero derivative = delta_error / delta_time # Each of our parameters are now multiplied by their respective constants pid = int((K_p * error) + (K_i * integral) + (K_d * derivative)) # Move servos servo_party.move(speed - pid, speed + pid) print(pid) # Update last_error to the current error last_error = error # Update last_time last_time = current_time |
The next step is tuning the robot. This is essentially trial and error. Starting with K_i and K_d at zero and tweaking K_p is usually the way to go. There are numerous guides available on the internet for this.
I’d like to thank Alex for his help in understanding and implementing this. It was greatly appreciated!
Can we see the code in action?
You’ll just have to stay tuned for tomorrow’s post!
Can’t wait! Fantastic post, such useful detail on PID and integration.
Thank you very much