The final pieces of the control-panel-puzzle are in place, with the arrival of our new UPS and monitor. Over the past few days, we have assembled the control panel and even started testing it too.
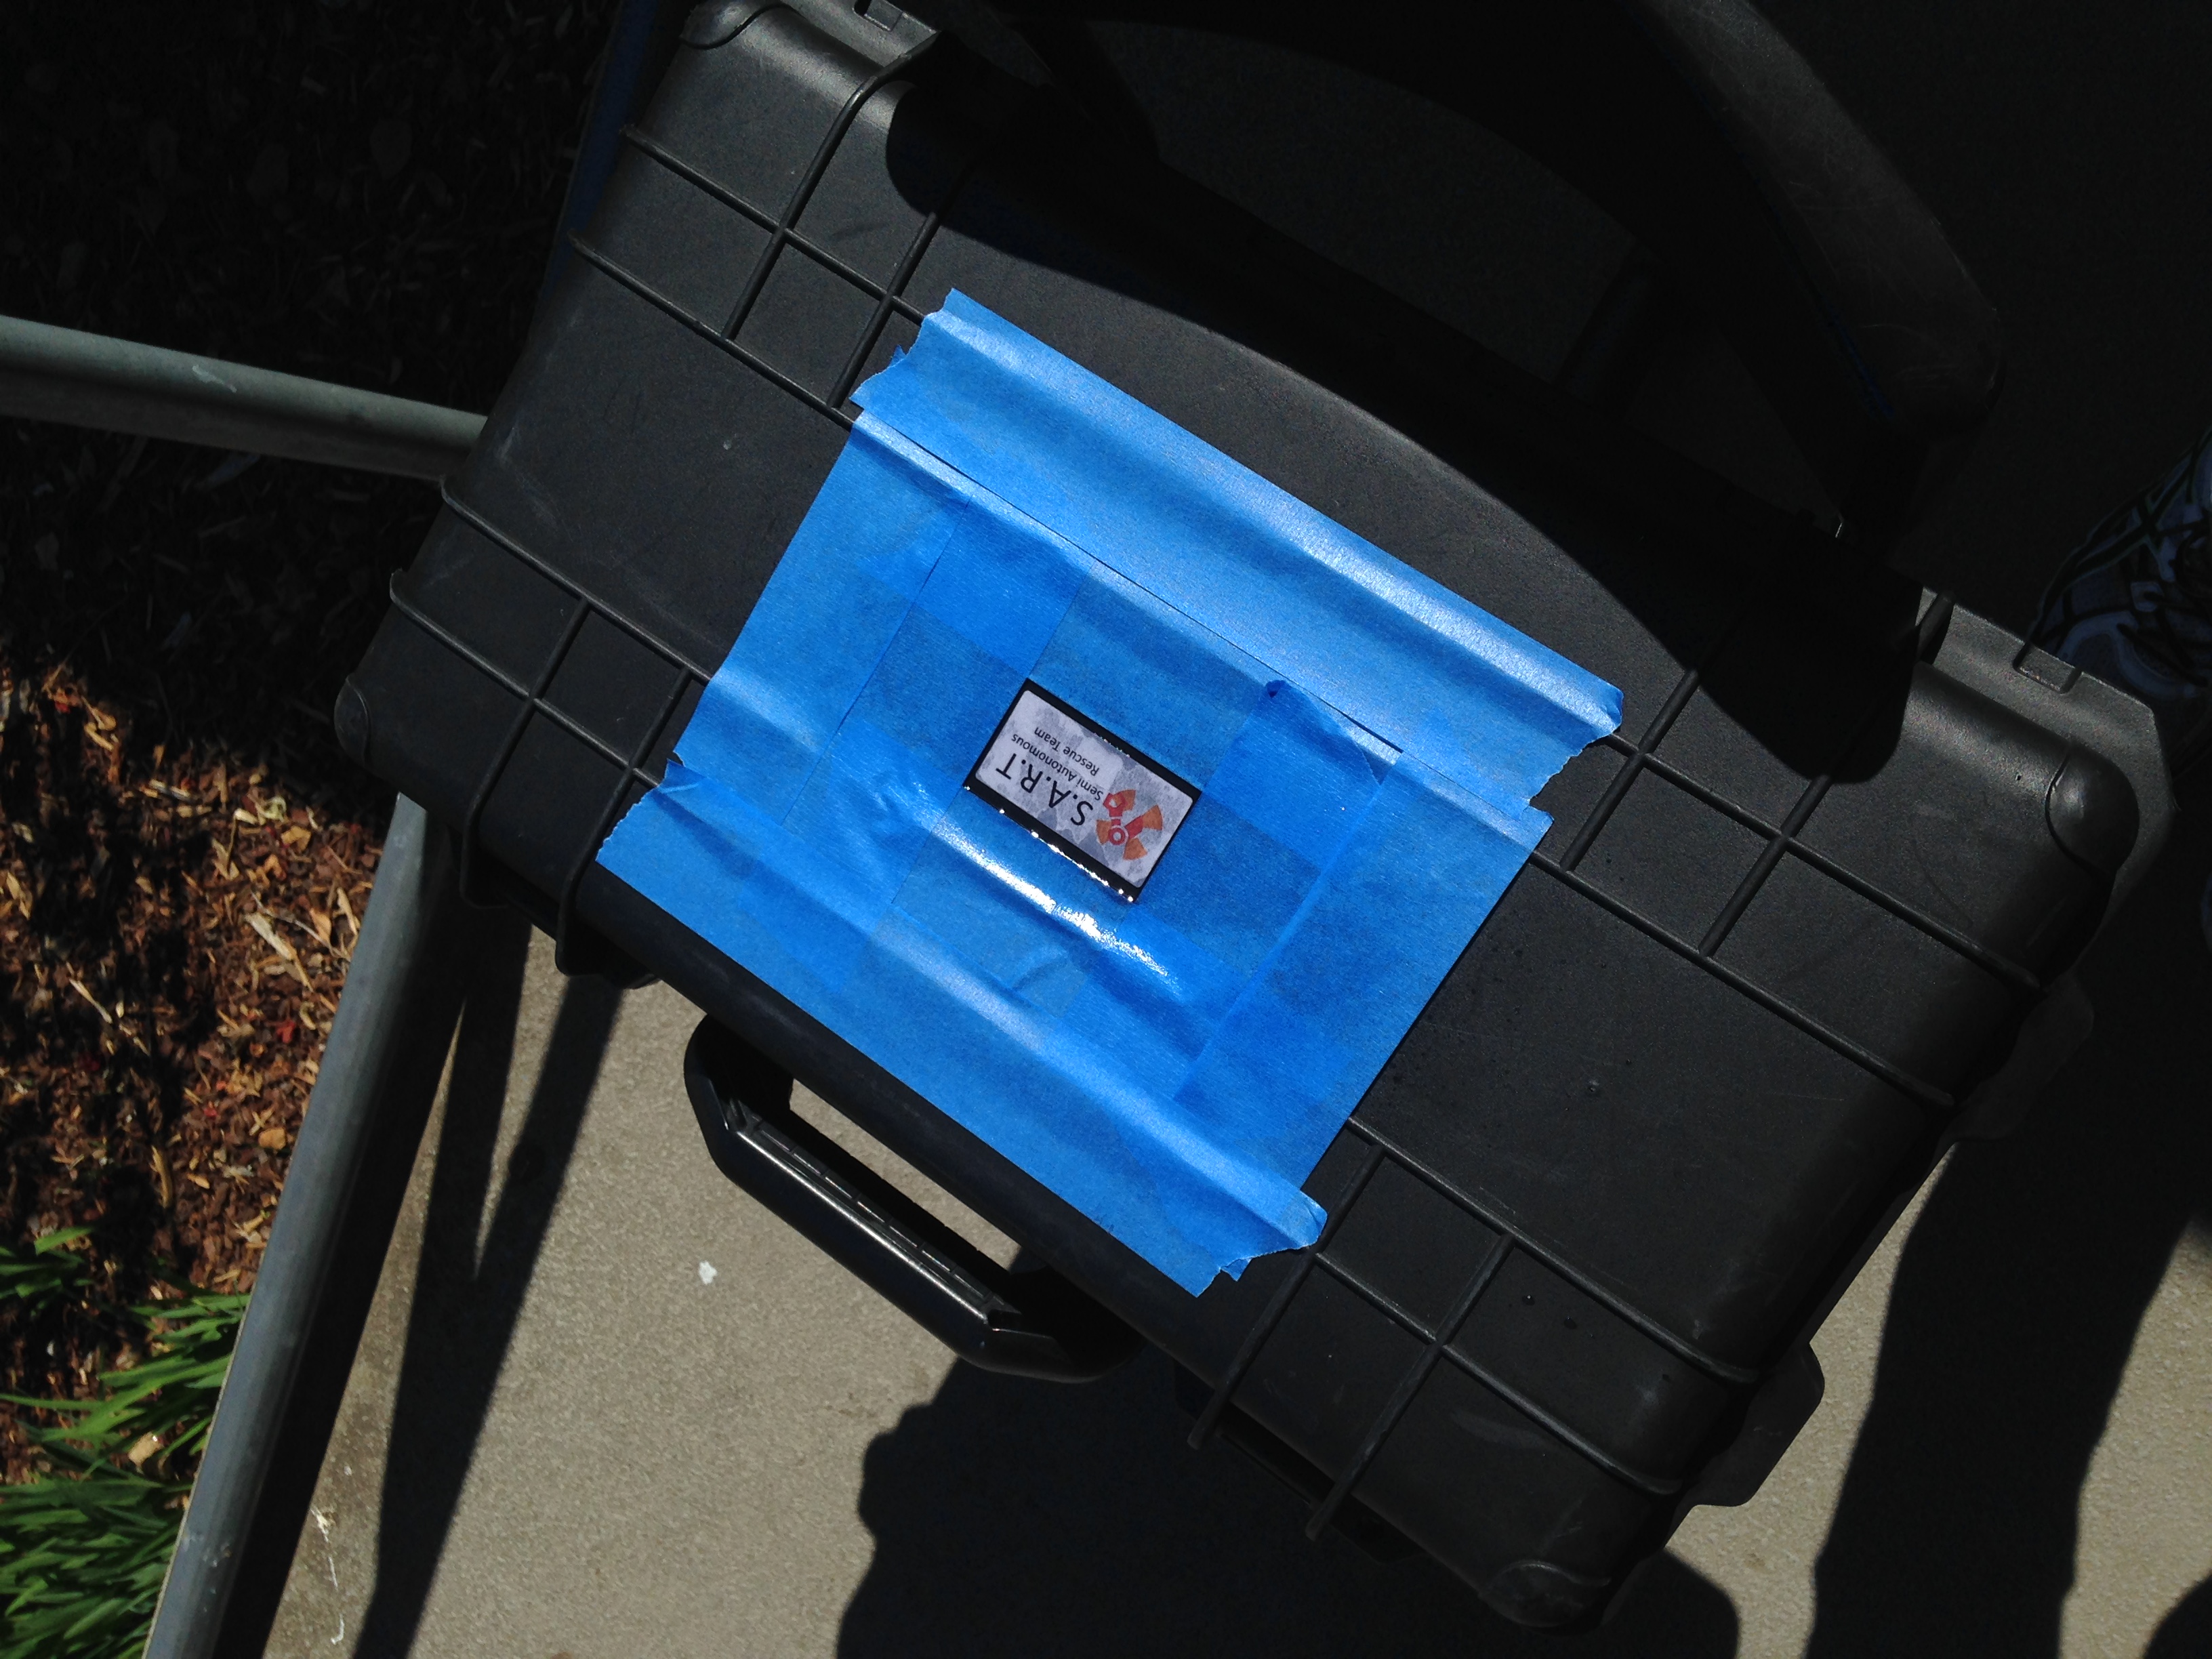
Aaron and I first prepared the case by giving it a good clean – over the past few weeks a lot of dust and plastic shavings had built up in it from our use of the Dremel to cut and sand excess plastic supports. The metal logo was damaged in the process, so we replaced it with one of our own design.
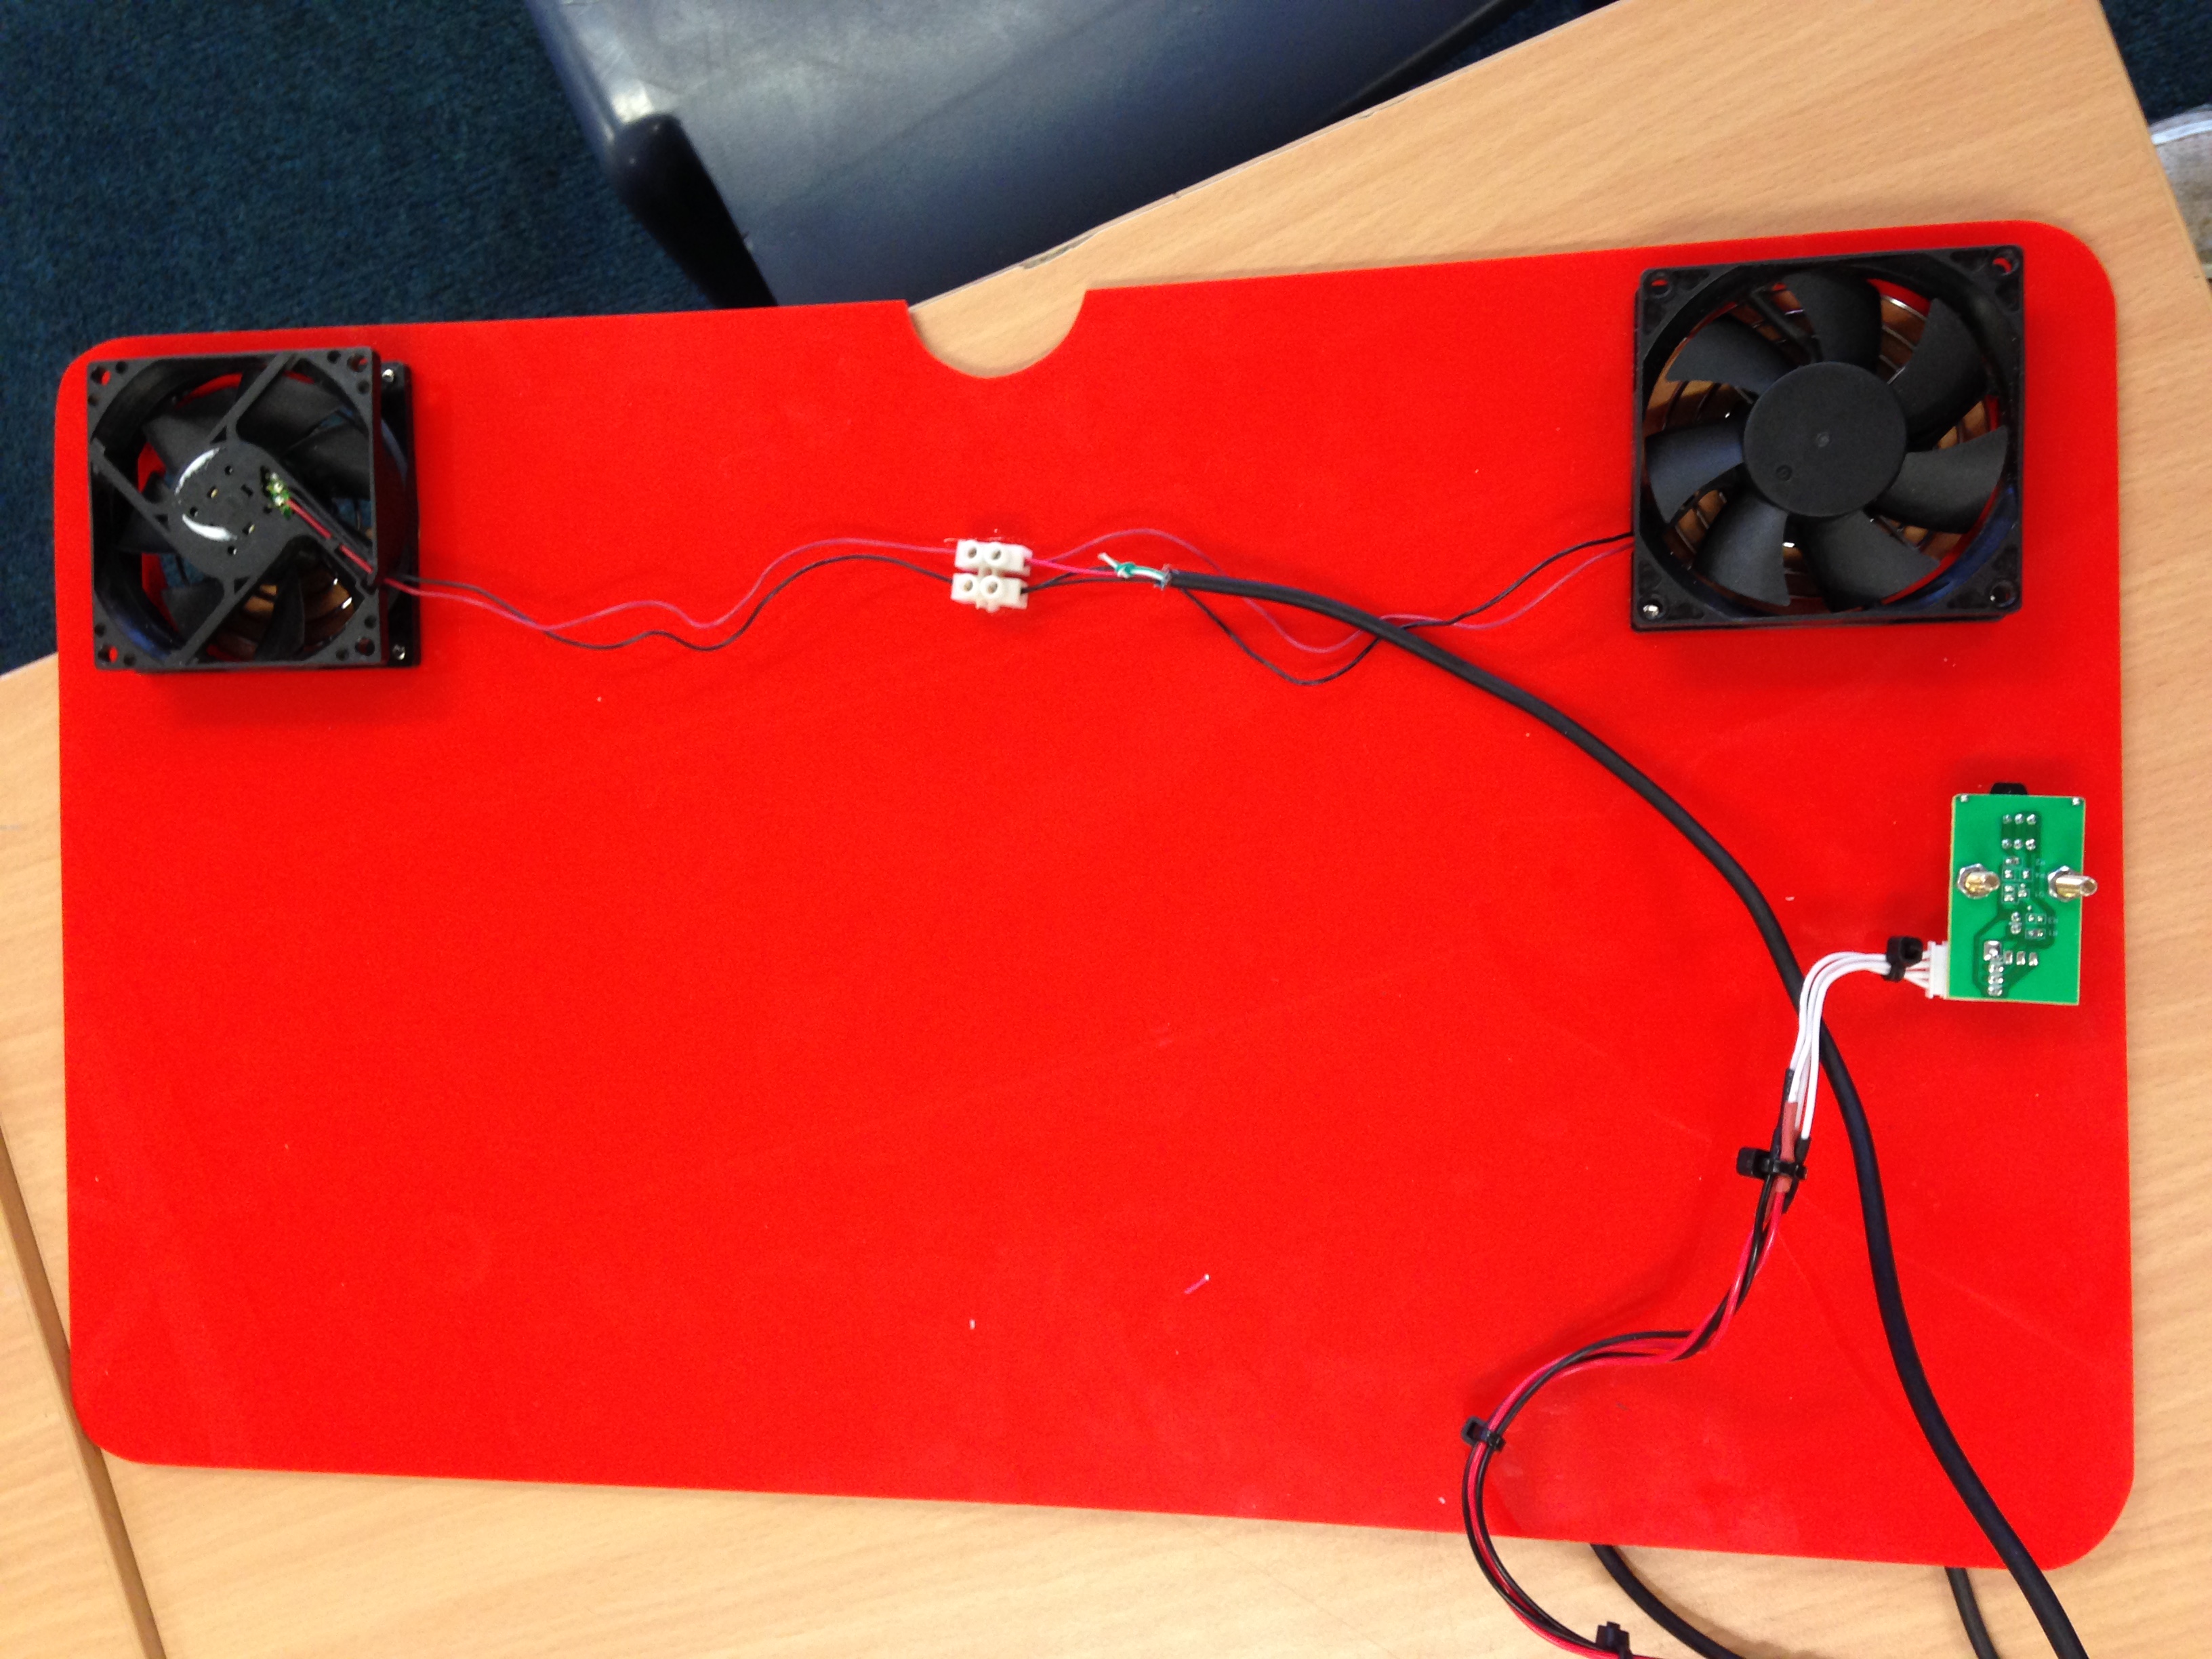
Aaron connected the fans to a USB plug for power with some simple wiring. There’s possibility for easy expansion in the future if we have anything else that requires 5 volts. The USB itself plugs into the BreezeLite (it has ports to spare), and the excess cable was glued to the underside of the Perspex to prevent breakages if the wire snags on anything.
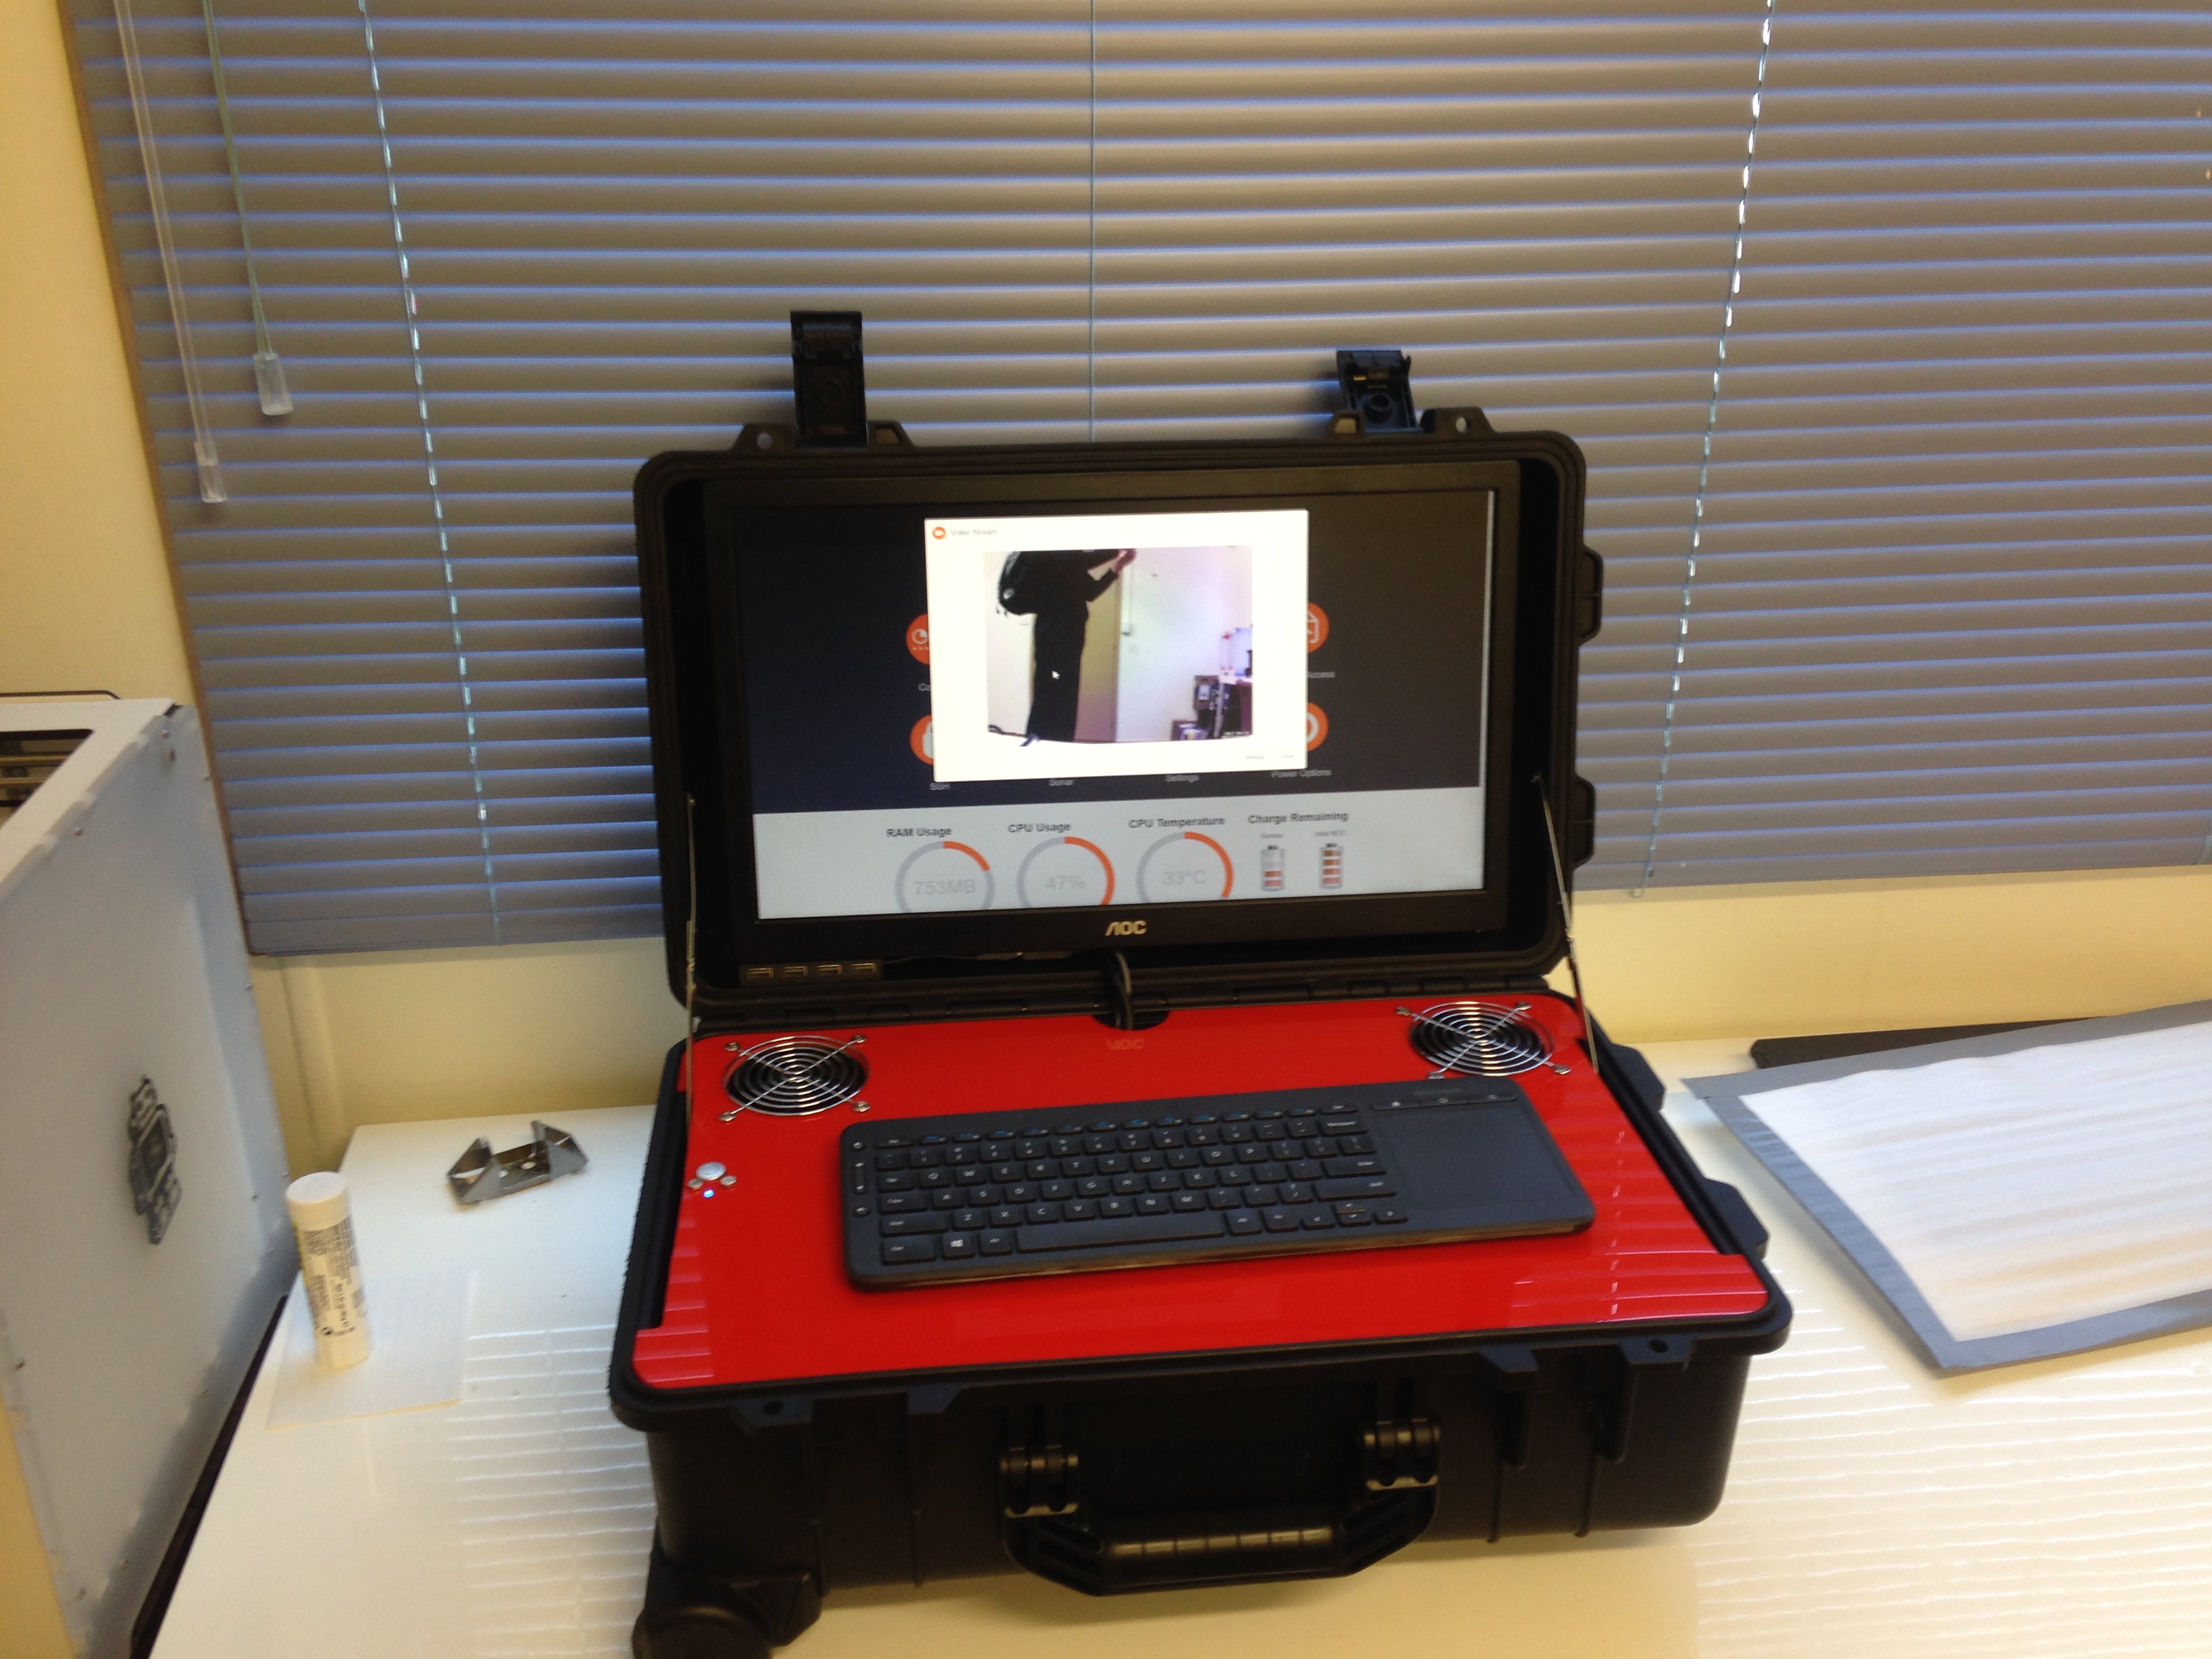
After an eventful trip to Aaron’s house, we were able to source some screws and nuts to secure the UPS power button. It’s not a perfect mount, but it 100% of the time it works all of the time, which is all we need. As I think we’ve mentioned before, everything boots automatically, so the single UPS button can turn on the entire control panel.
The next point to address was mounting the monitor. To position the holes, I printed out a VESA mount diagram and stuck it to the back of the case so I could drill through it. After tearing some screws from an old monitor, Aaron and I test-mounted the new panel in the lid. It’s a tight fit, but we’re not going to have to remove it often (or so we thought – how wrong we were!).
With the test fit successful, we removed the monitor, managed the cables with some cable ties, and remounted the panel being careful to route the cables through the convenient hole in the Perspex.
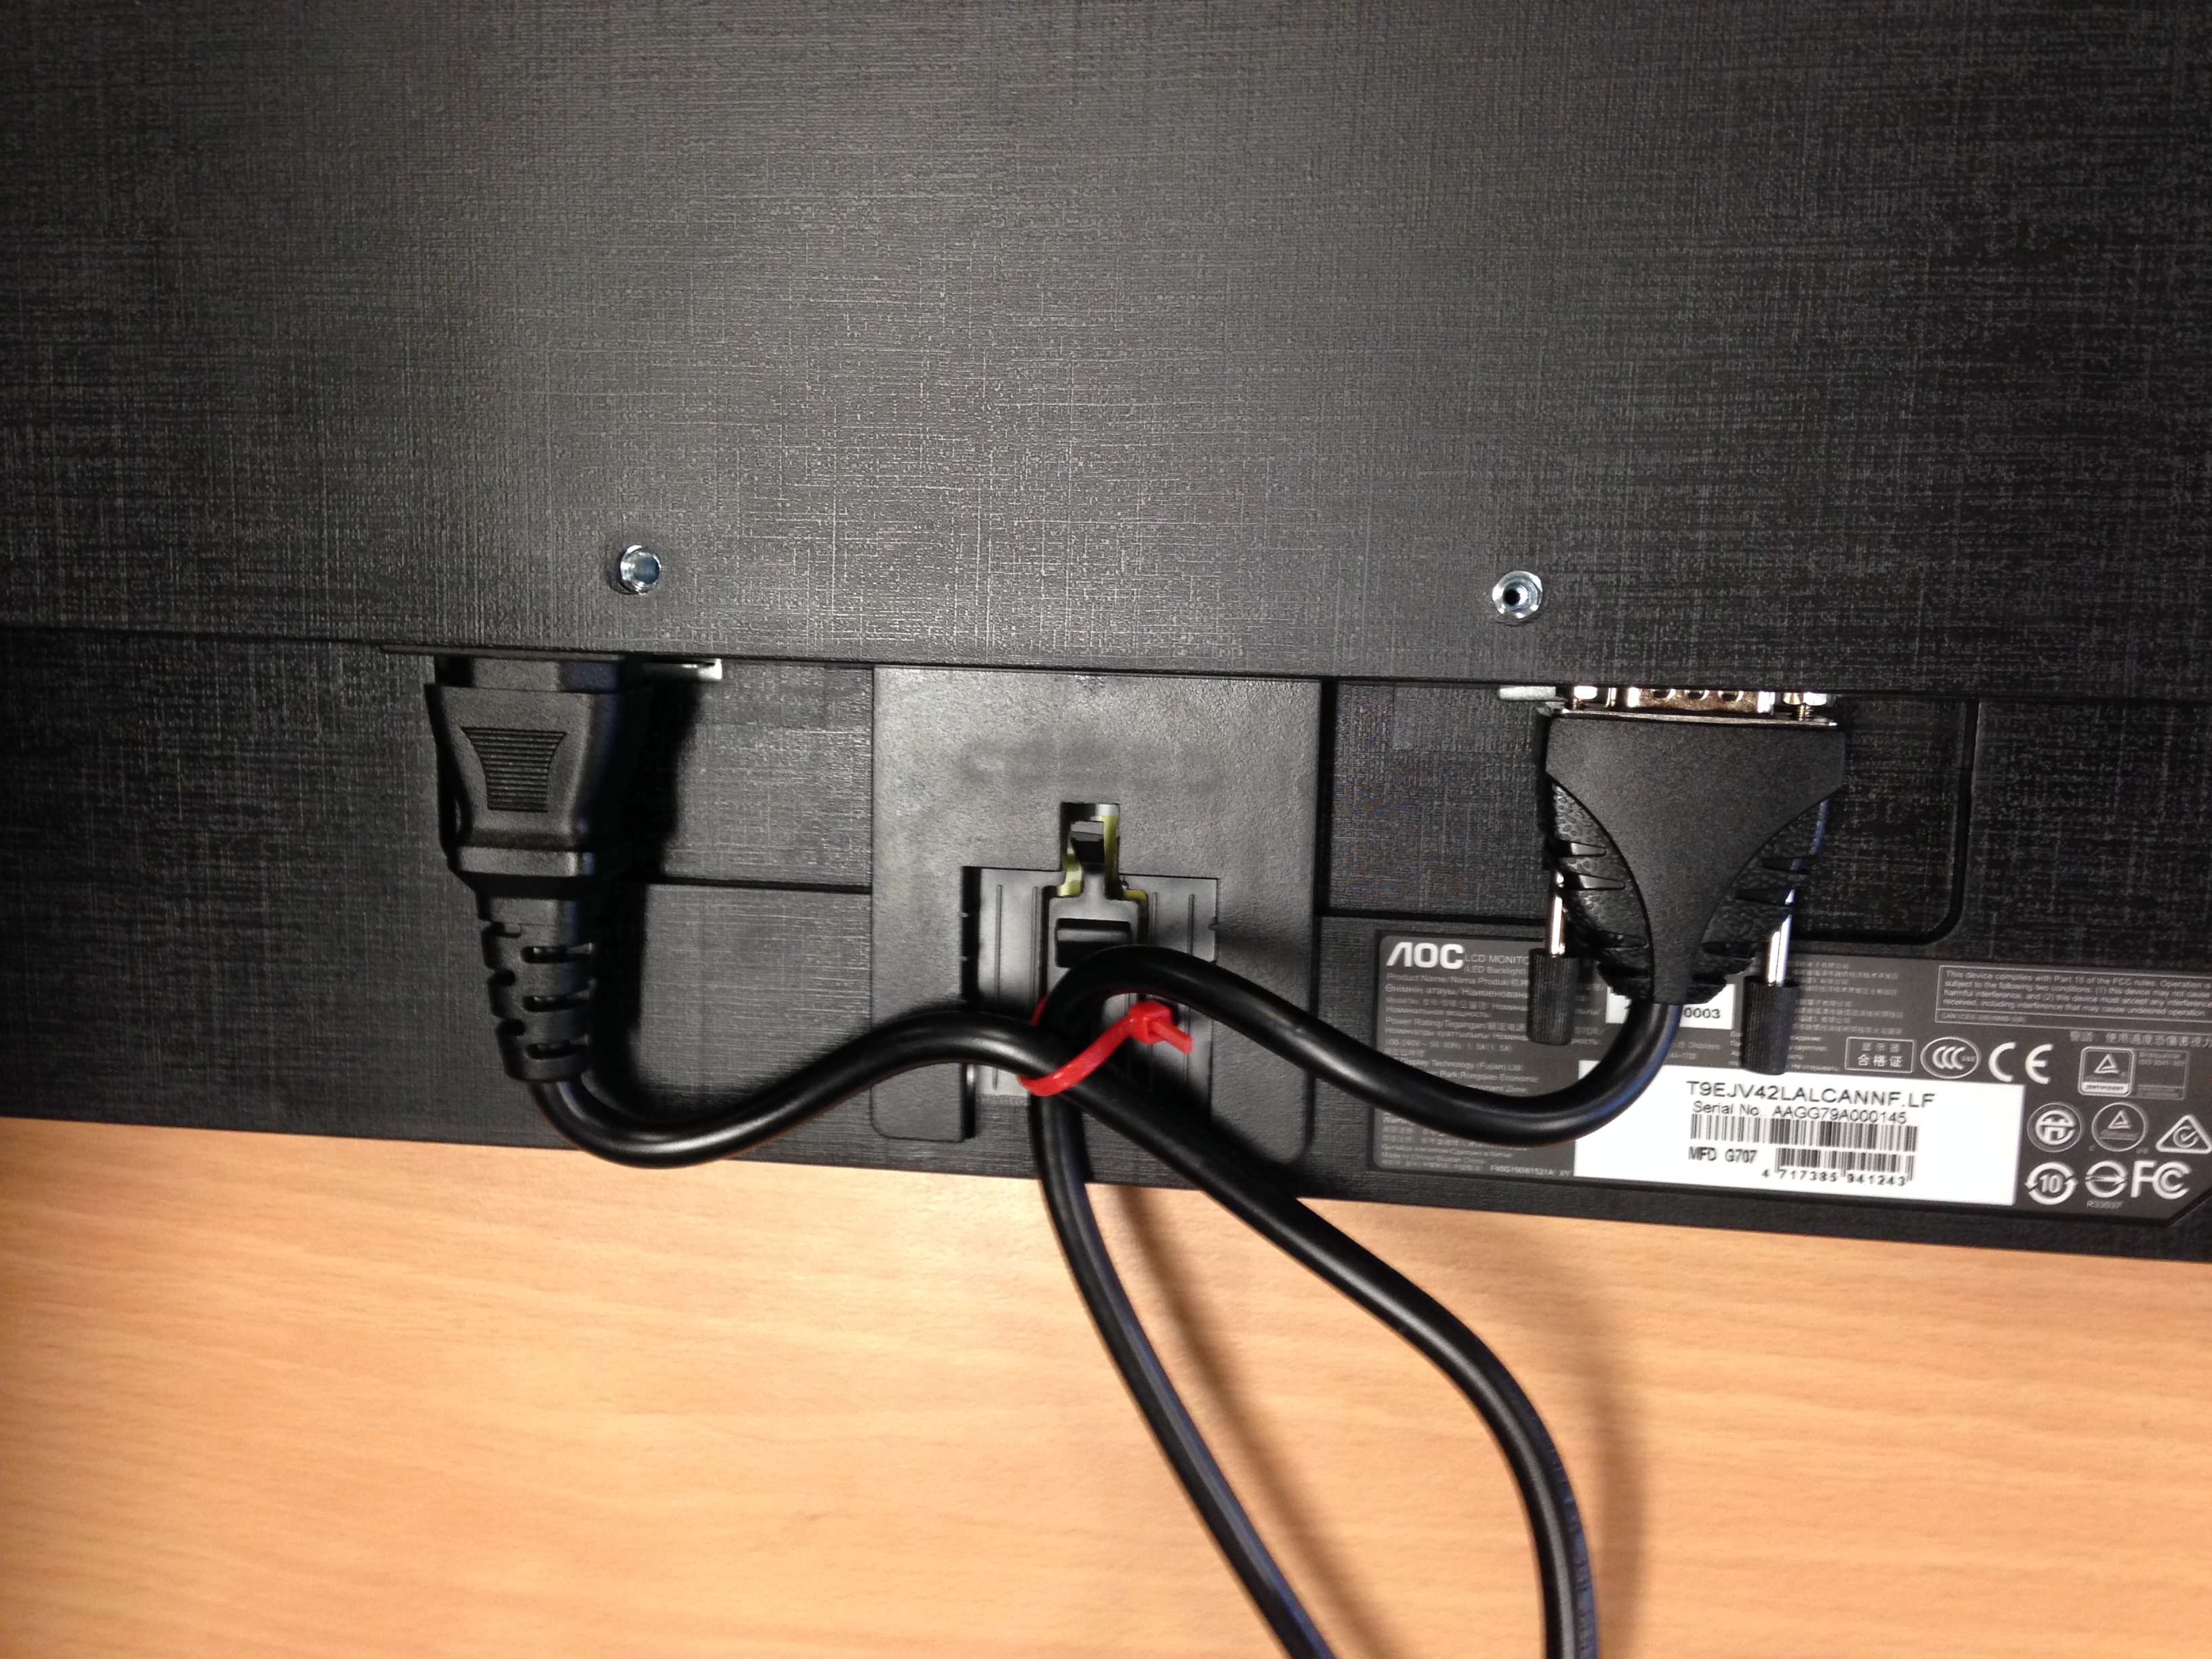
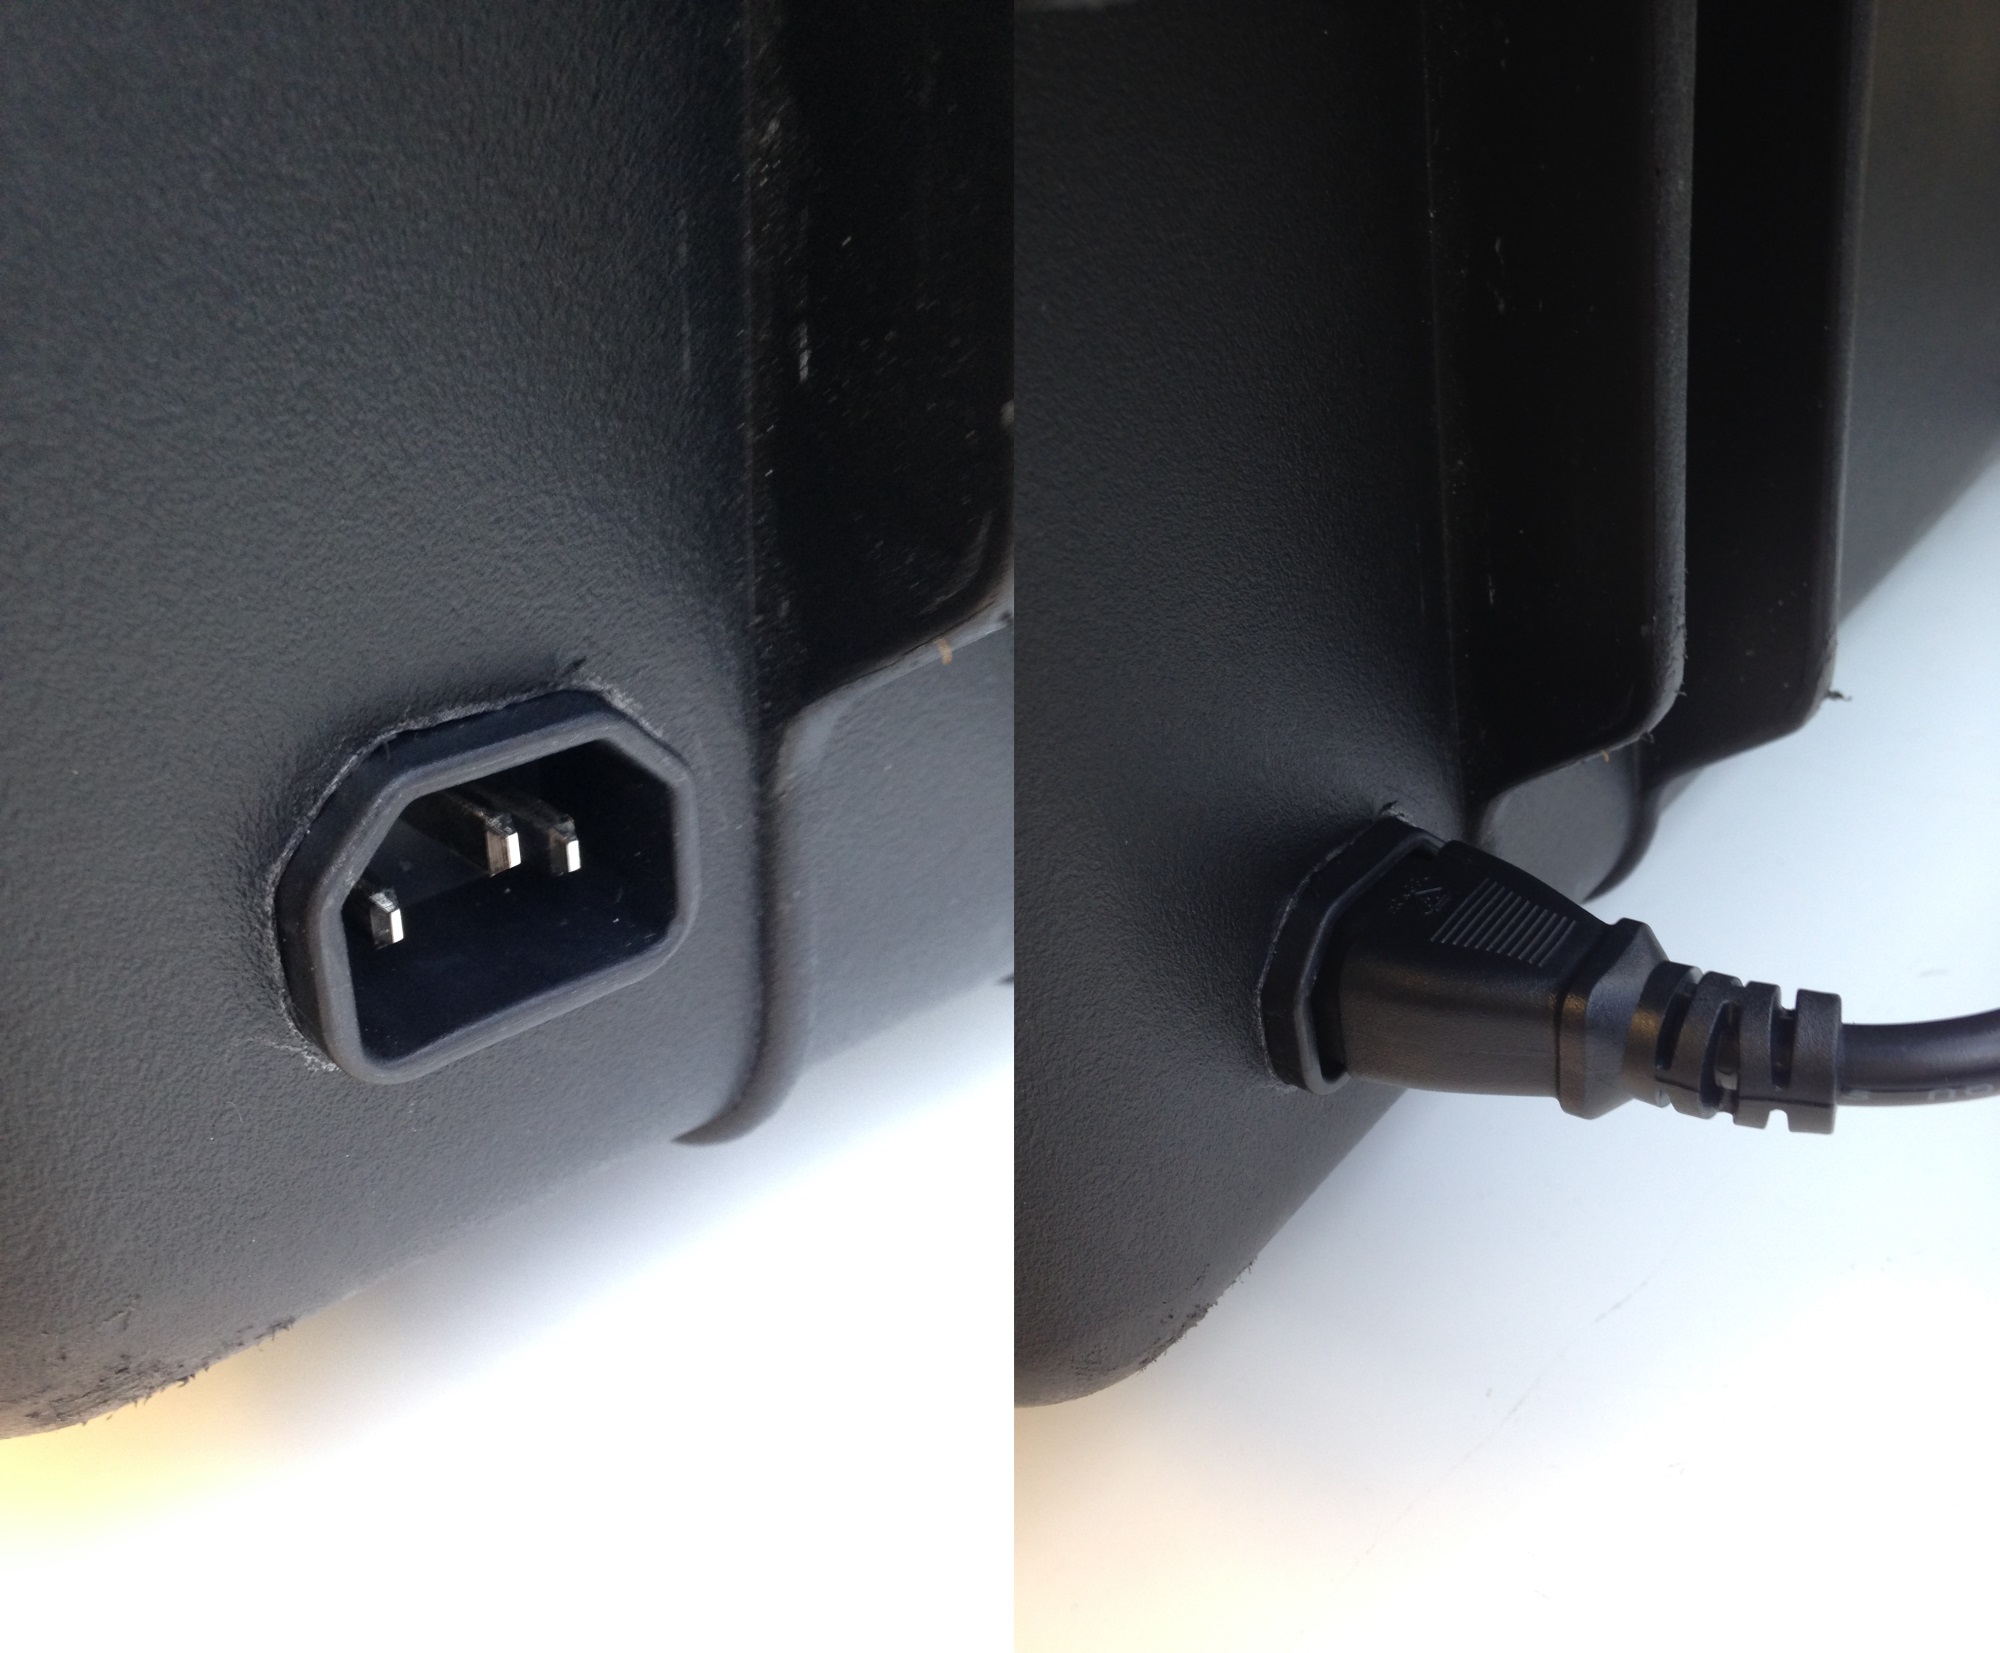
Matthew and Riley went on an adventure to pick out some cables for our project. Among them was an IEC C13 to C14 (male to female kettle plug) cable. After some careful cutting with the Dremel (the monitor had to be removed to avoid damage from flying specs of plastic, I securely epoxied the end of the cable to the case. This is the cable used to charge the UPS.
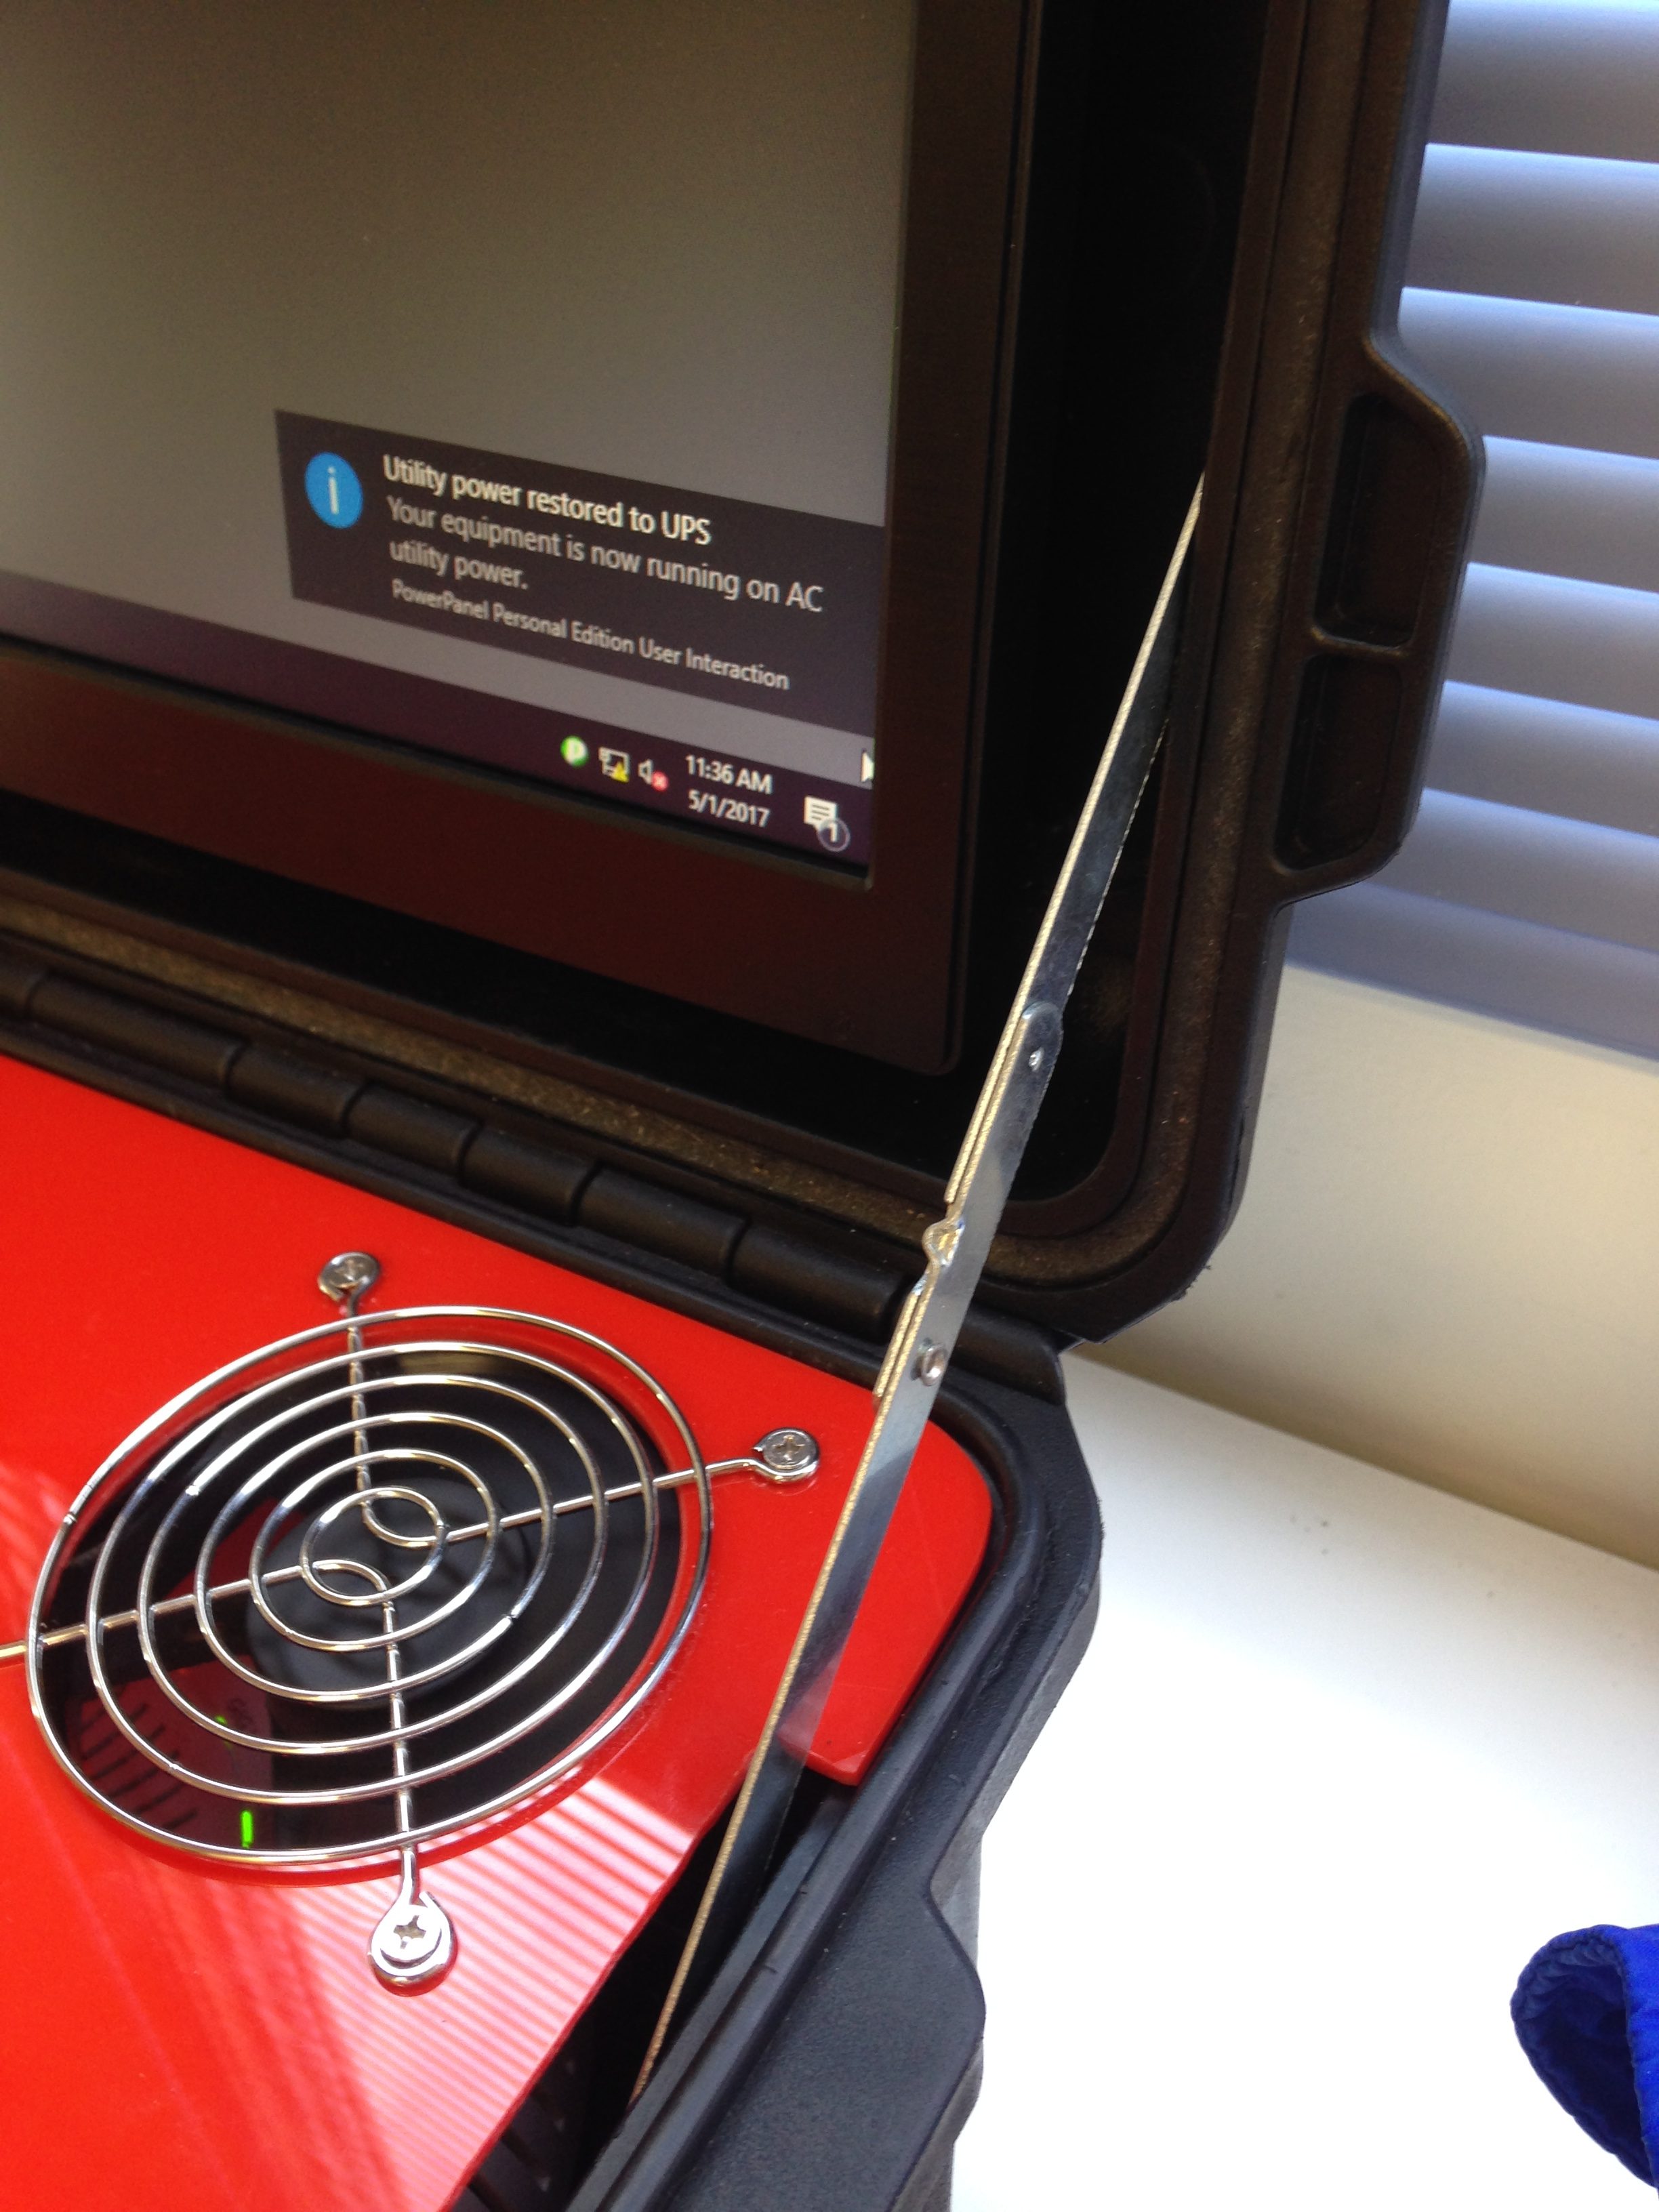
In order to prevent accidental closure of the briefcase which could result in damage to the monitor, Riley and I went on an adventure to the local Bunnings Warehouse to pick out some card table stay hinges. Installation required the monitor to be removed (again), but otherwise went without a hitch due to some careful planning before drilling. The screws stuck out further than we wanted, so we used the Dremel to remove the excess and covered the sharp edges with epoxy (which has the double effect of reducing the risk that they will work themselves out).
Two thin slots needed to be cut on the Perspex to accommodate the new supports, which I accomplished with the Dremel.
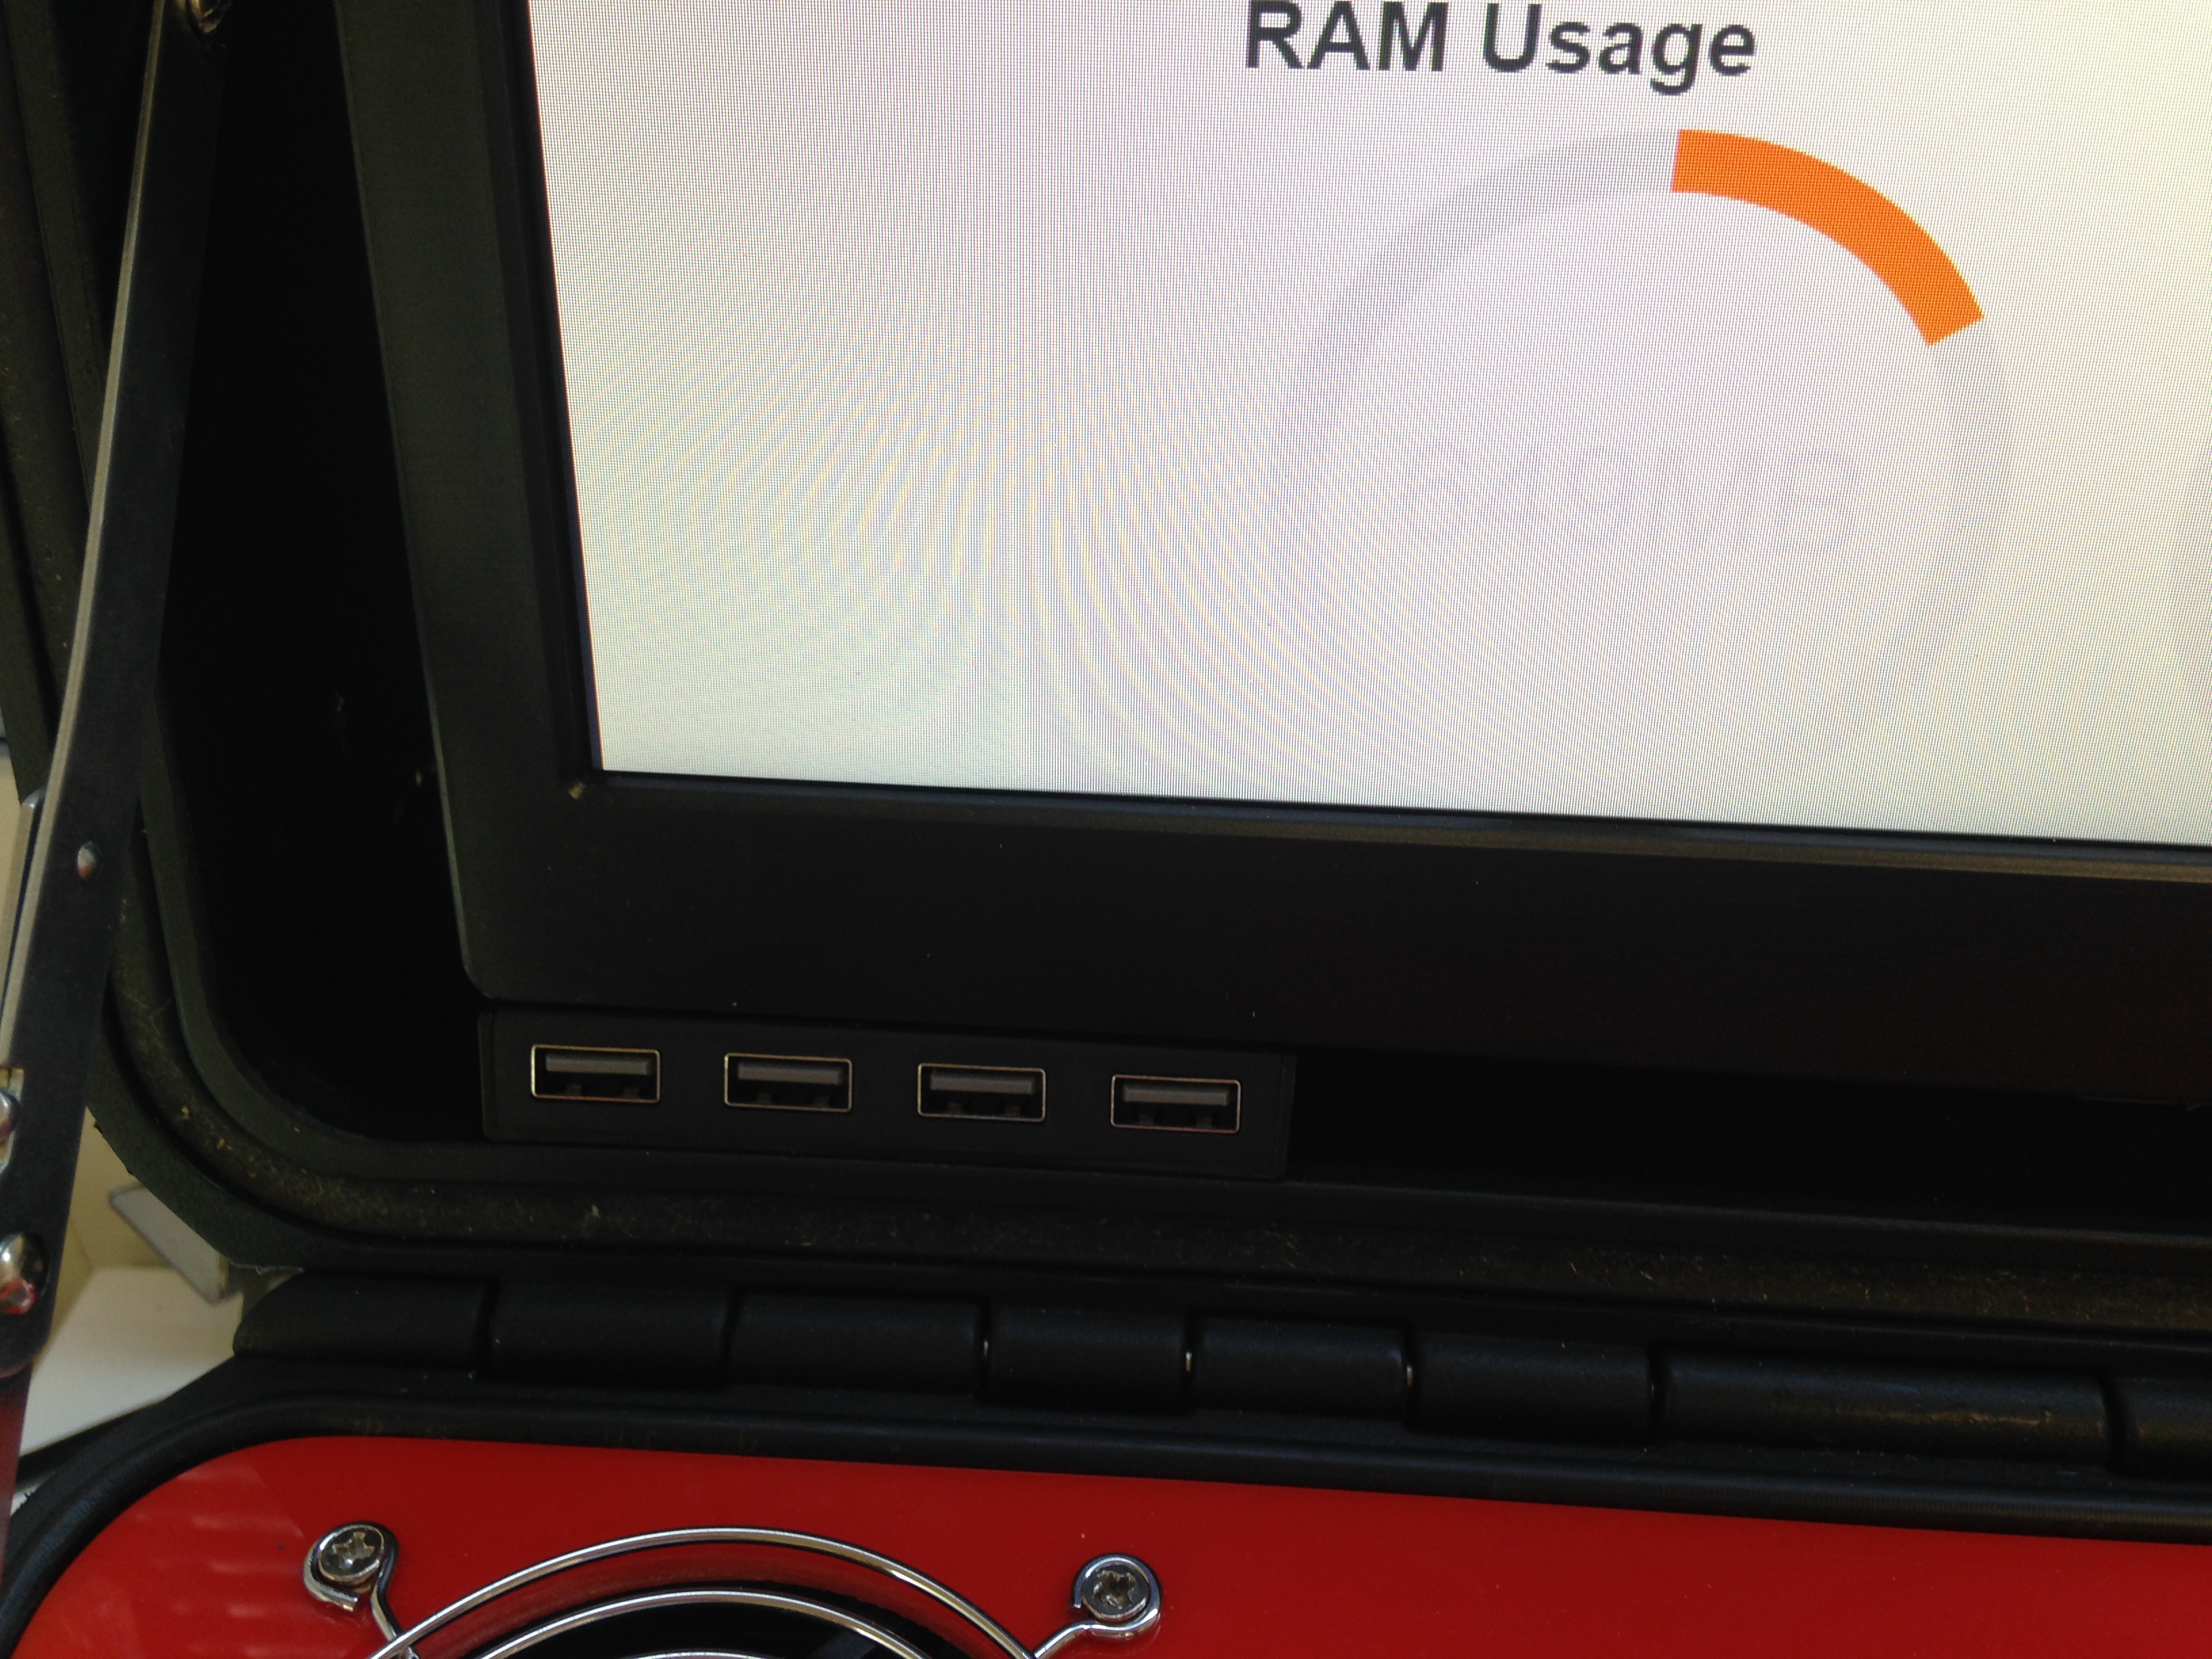
I wanted a USB hub and a new keyboard all in the name of usability, so Aaron, Riley and I went on an adventure to the local OfficeWorks to pick out some items. We toyed with the idea of a roll-out membrane keyboard that could stay under the monitor, but with only millimetres to spare, we opted for a wireless keyboard/mouse combo that could be easily removed instead. We picked up a PowerCube at the same time for a high-density solution to our power distribution.
Without our new UPS, we could only plan the cable runs. Using the smallest ethernet cables we could find, Aaron and I planned the ideal runs for the power over ethernet injector, the Xirrus access point and the BreezeLite. The wireless keyboard removed one more cable, which we were all happy about. Our addition of a USB hub brought the total back up again, so net cable-happiness was still zero. Nonetheless, everything fit in the case and was acceptably neat.
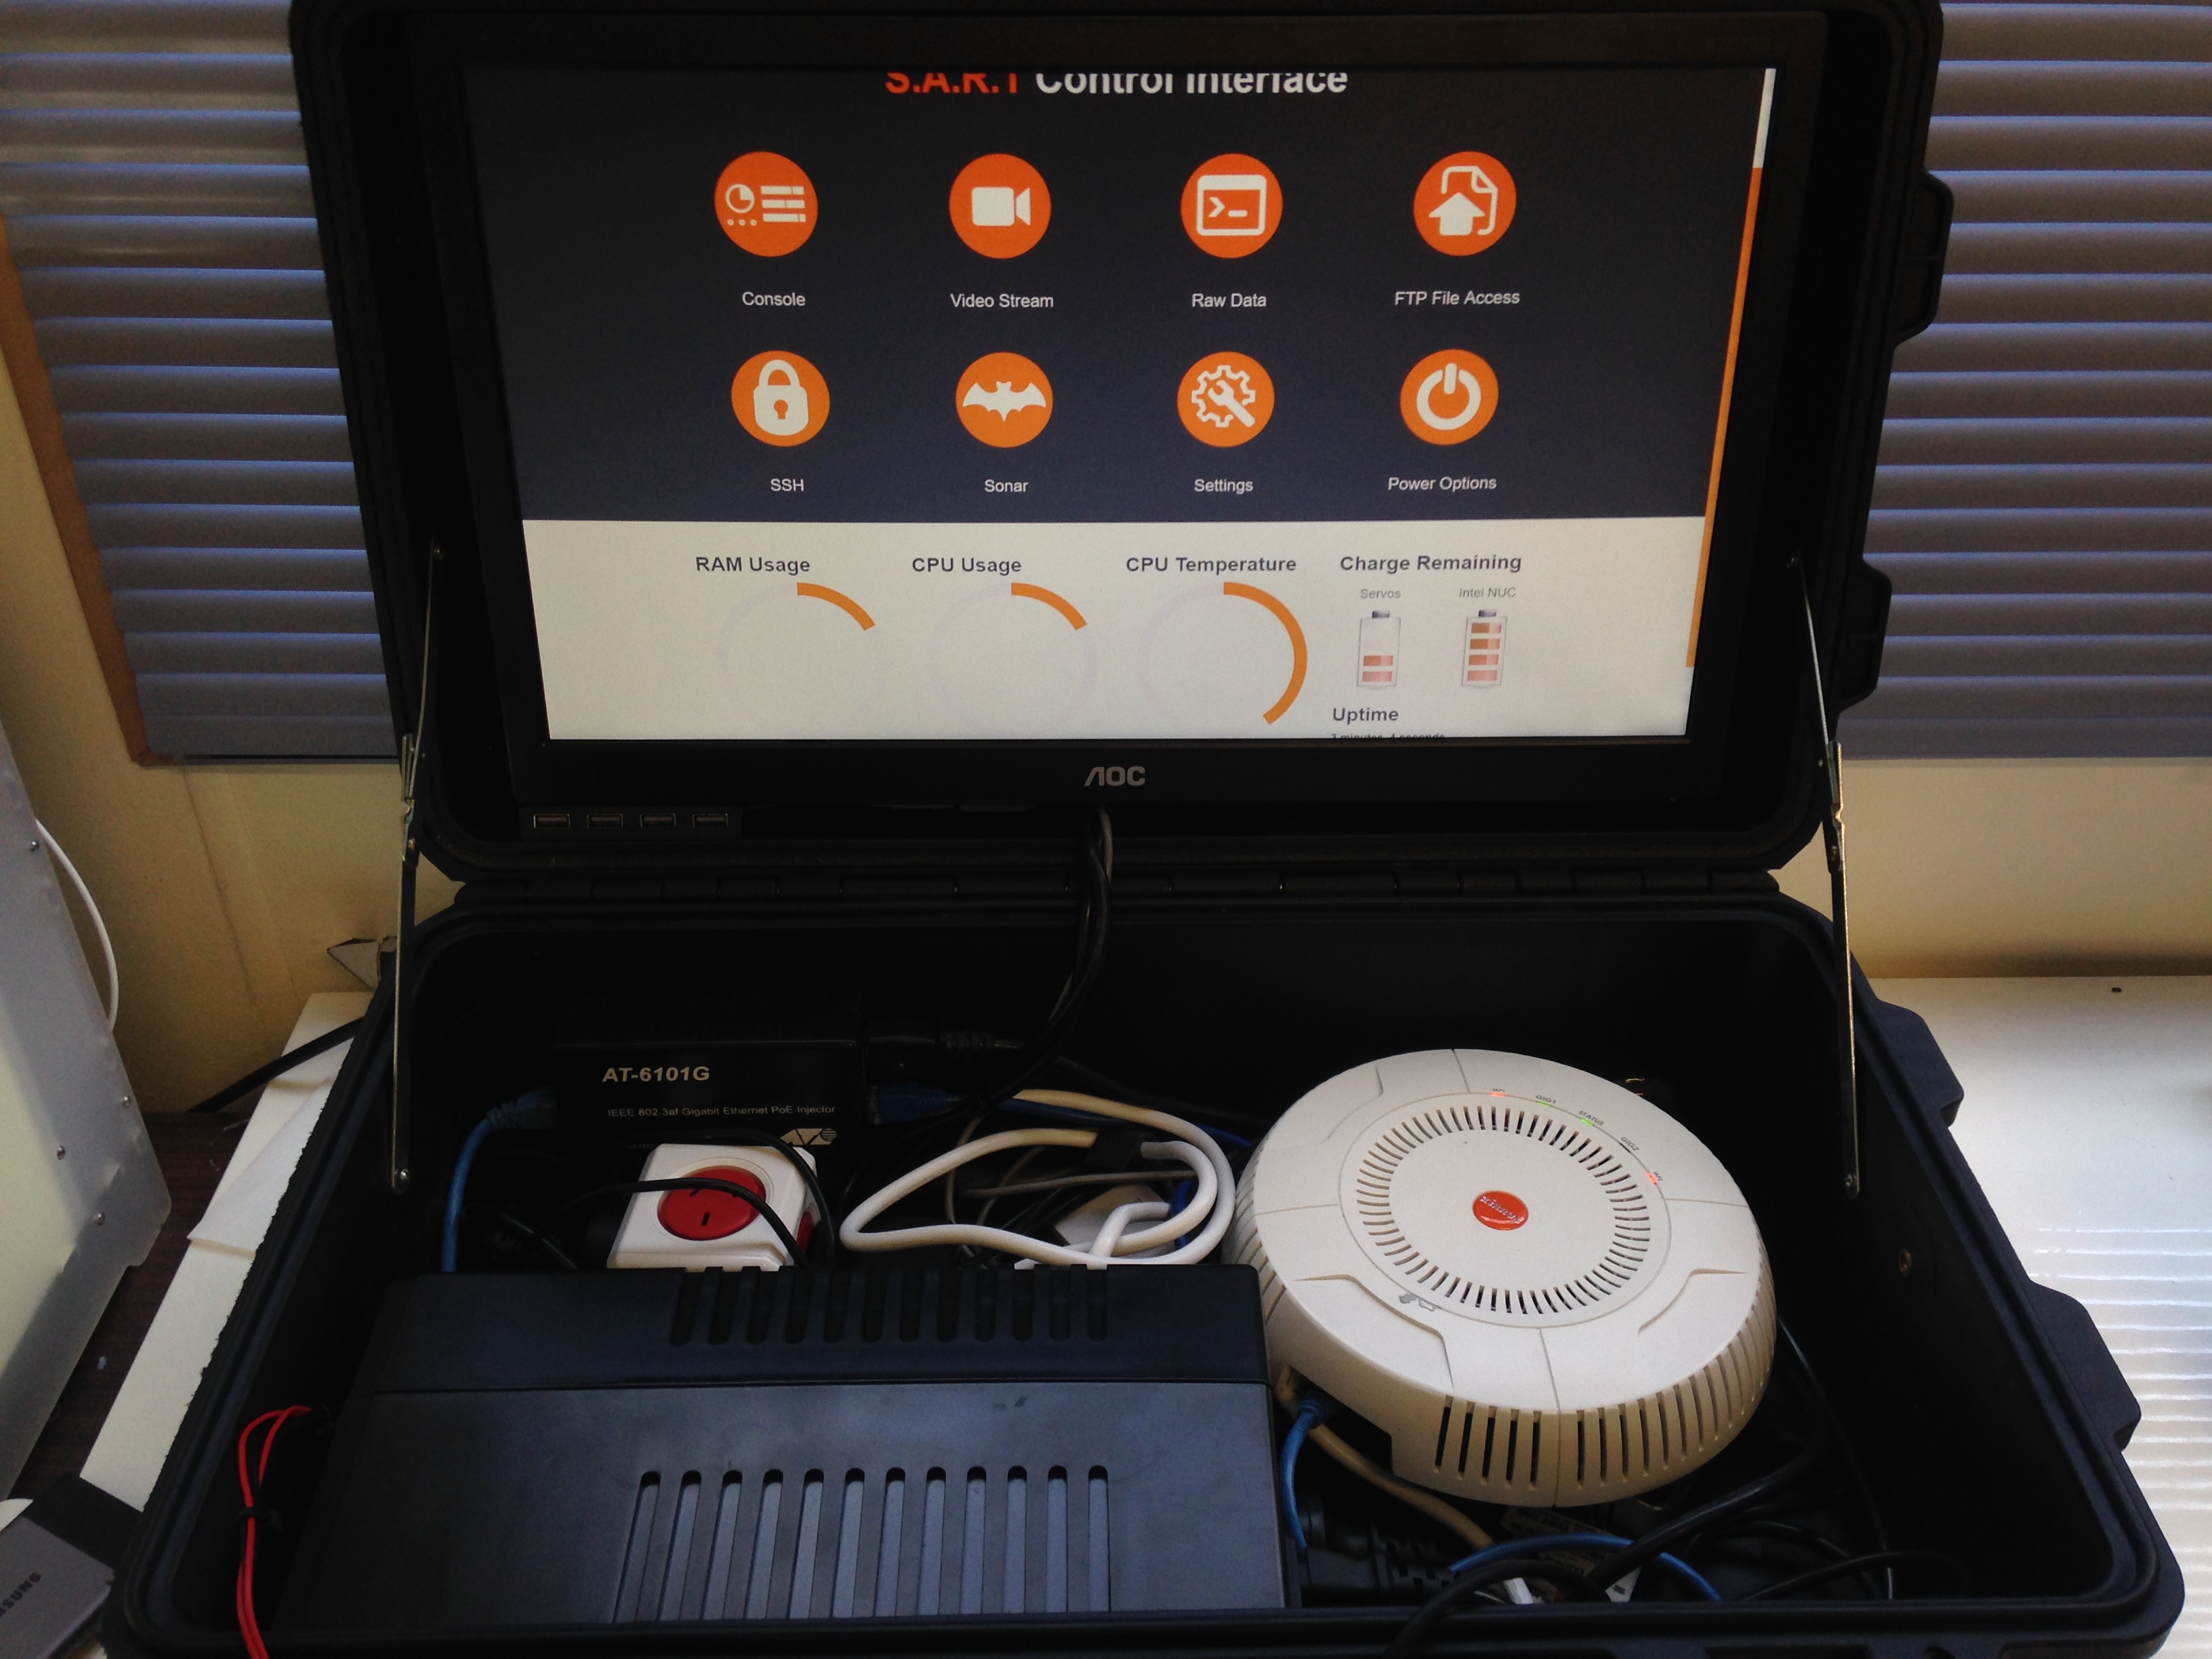
Our new UPS finally arrived the next week. Due to our planning, implementing it was as simple as plugging in the PowerCube and the PoE injector. Oh, we also had to take the entire thing apart so we could remove the power button and hook it up to our custom button.
After powering on for a quick test, we left the UPS to charge overnight so we could come in and test it the next day.